Phone:
(701)814-6992
Physical address:
6296 Donnelly Plaza
Ratkeville, Bahamas.
Phone:
(701)814-6992
Physical address:
6296 Donnelly Plaza
Ratkeville, Bahamas.
Learn how to properly prepare a lot in Simcoe County before building a home. Permits, clearing, driveway, grading, drainage, and utilities — explained clearly.
If you just bought a piece of land in Simcoe County and you’re thinking, “Perfect, we’ll clear a few trees and start building,” slow down just a second. Preparing a lot for construction is part paperwork, part planning, and part heavy machinery ballet. Done properly, you’ll have a dry, stable, well-accessed building site that won’t cause headaches later. Done poorly, and you’ll be dealing with drainage issues, sinking driveways, soggy basements, or angry neighbors. Let’s avoid all that.
This guide walks through everything you should do before construction begins — from verifying you can actually build there, to clearing, grading, utilities, and driveway access. It applies to Tiny, Tay, Midland, Penetang, Wasaga Beach, Collingwood, and the whole Georgian Bay area.
Before bringing in excavators, chainsaws, or Uncle Bob’s “guy with a skid steer,” start with the paperwork. Zoning, setbacks, conservation authority limits, and septic rules all affect where your house can go and how big it can be.
Start with the municipality’s building department. They’ll confirm zoning and building feasibility:
https://www.simcoe.ca/building
If your property is near wetlands, streams, or watercourses, the Nottawasaga Valley Conservation Authority (NVCA) may require permits:
https://www.nvca.on.ca/planning-permits
Tip: Do this early. Conservation approvals can take time — and arguing with them is like arguing with gravity. You can’t win.
A proper survey tells you where the property lines actually are. Your neighbor’s fence is not a reliable reference — let’s just put that out there now.
From the survey, your builder or designer will lay out:
Why this matters: Moving a house foundation even 10 feet after excavation is… not a good day.
In Simcoe County, especially Tiny and Tay, many rural roads require an entrance permit and potentially a culvert to manage drainage under your driveway.
Tiny Township’s rules and permit form are here:
https://www.tiny.ca/residents/roads/entrance-permits
The municipality will usually specify:
Note: The driveway is the first thing you build, not the last. All equipment, concrete trucks, building materials, and crews need access. A weak driveway costs you more later.
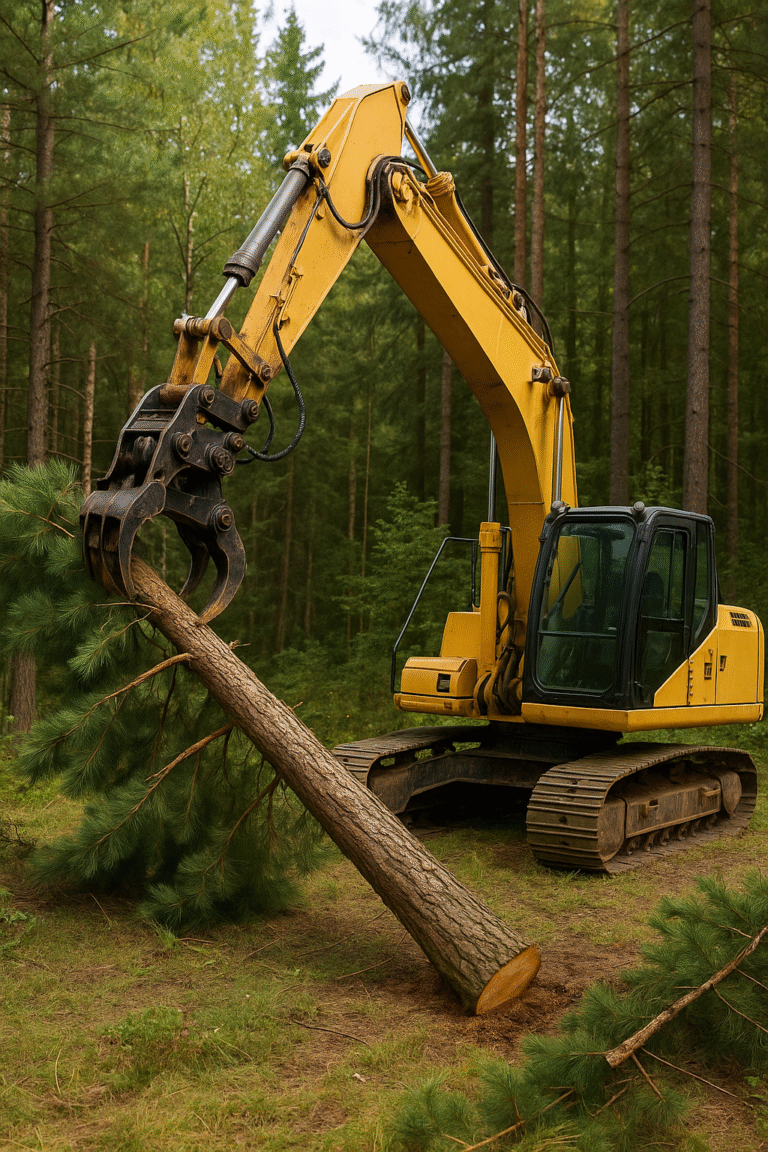
This is where the chainsaws and machinery come in. But it’s not “cut everything down and hope for the best.” Thoughtful clearing saves you money and keeps the property looking like a home, not a logging site.
We usually recommend clearing:
Leave good trees when possible. They add shade, wind protection, value, and privacy. We can always remove trees later — we can’t put them back.
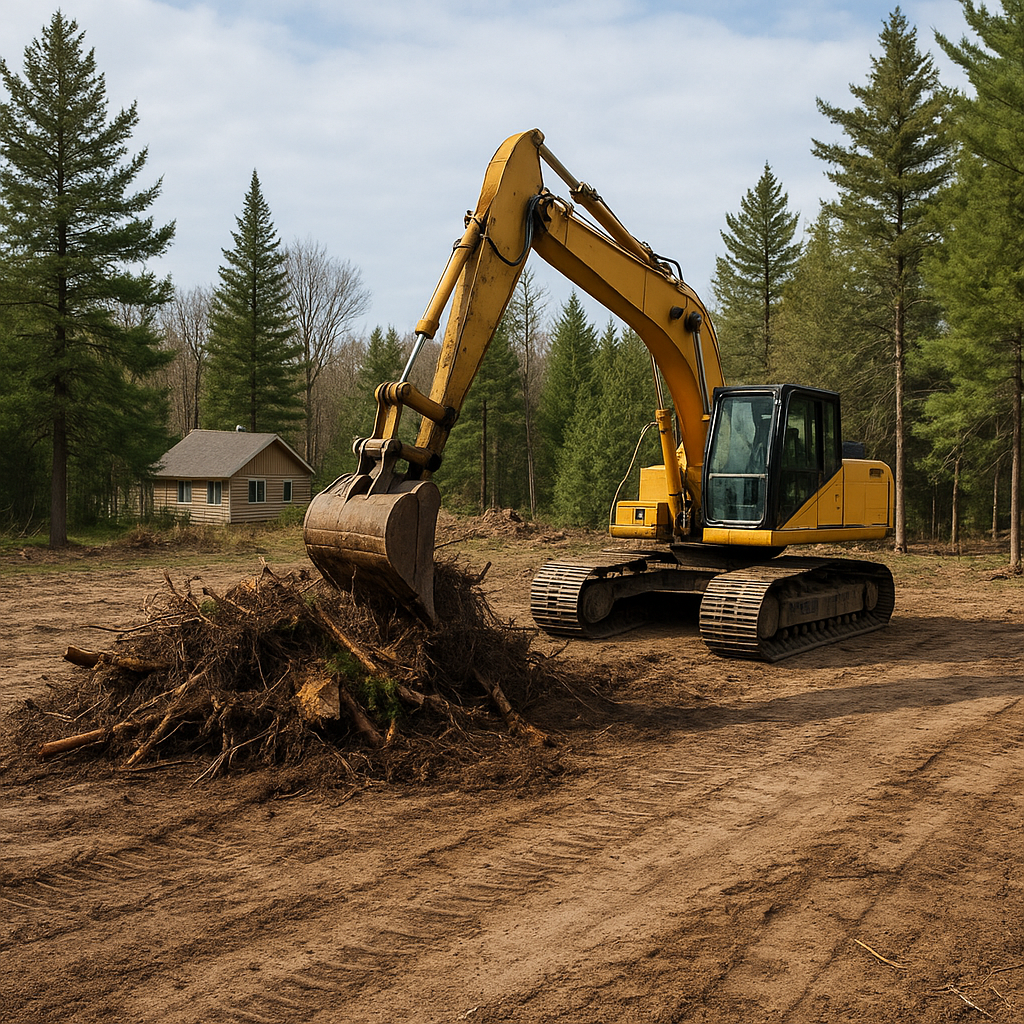
You don’t build on top of roots. Ever. Stumps and root mats decompose and create voids — and that leads to sinking slabs, cracked driveways, and uneven lawns.
Depending on soil and tree size, we either:
Rule: Where the house, garage, or driveway goes — the roots go out.
This is one of the most important steps and the most frequently overlooked. Water needs to move away from the foundation, not toward it. That sounds obvious, yet we fix this every year on properties where someone “skipped” this part.
Proper grading includes:
Good prep now = dry basement forever.
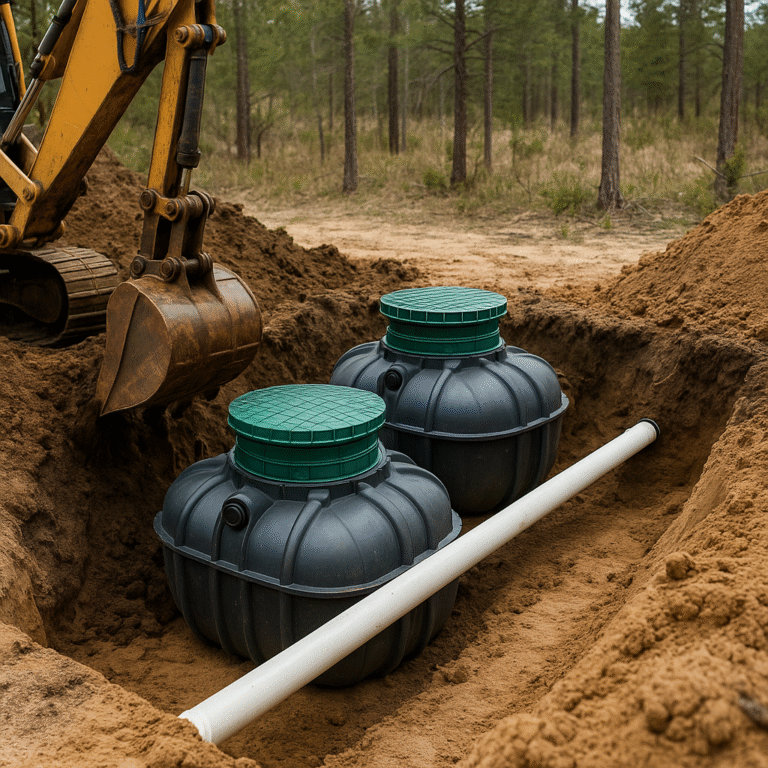
Rural lots don’t come “plug-and-play.” You need room for:
Do this planning now — not after the framing crew shows up.
Once the clearing, grading, and access are in place, a compacted gravel pad is built where the foundation or slab will go. This ensures proper support and reduces frost movement.
Think of this as the “home’s bedrock” — even if the bedrock is technically gravel.
Preparing a lot in Simcoe County isn’t complicated — but it does require proper sequence and local experience. Do the planning first, clear strategically, manage water properly, and set up access that can handle heavy equipment. When in doubt, ask someone who has built more than a few homes around here. Mistakes made in the dirt phase have a way of haunting you for decades.
Do it once. Do it right. Then build with confidence.